

When you're measuring body fat with calipers, you're essentially pinching the skin and the layer of fat right beneath it (subcutaneous fat) at specific spots on the body. It’s a classic, cost-effective method that, when done right, gives you a surprisingly accurate snapshot of someone's body composition.
The real secret isn't in having the fanciest calipers; it's all about consistent technique and using the right formulas to turn those skinfold numbers into a useful body fat percentage.
Building Your Foundation for Accurate Caliper Readings
Before you even touch a pair of calipers, the most critical step is setting up a professional and repeatable protocol. Sure, high-tech options like DEXA scans are out there, but skinfold testing has remained a go-to method in gyms, clinics, and even research settings for good reason. It hits the sweet spot between accuracy and accessibility.
This isn't just about pinching and reading a number. There's a science to it. The core principle is that the amount of fat just under the skin is directly related to a person's total body fat. By measuring the thickness of this layer at key anatomical landmarks, we can plug those numbers into proven equations to estimate body density, and from there, calculate the final percentage.
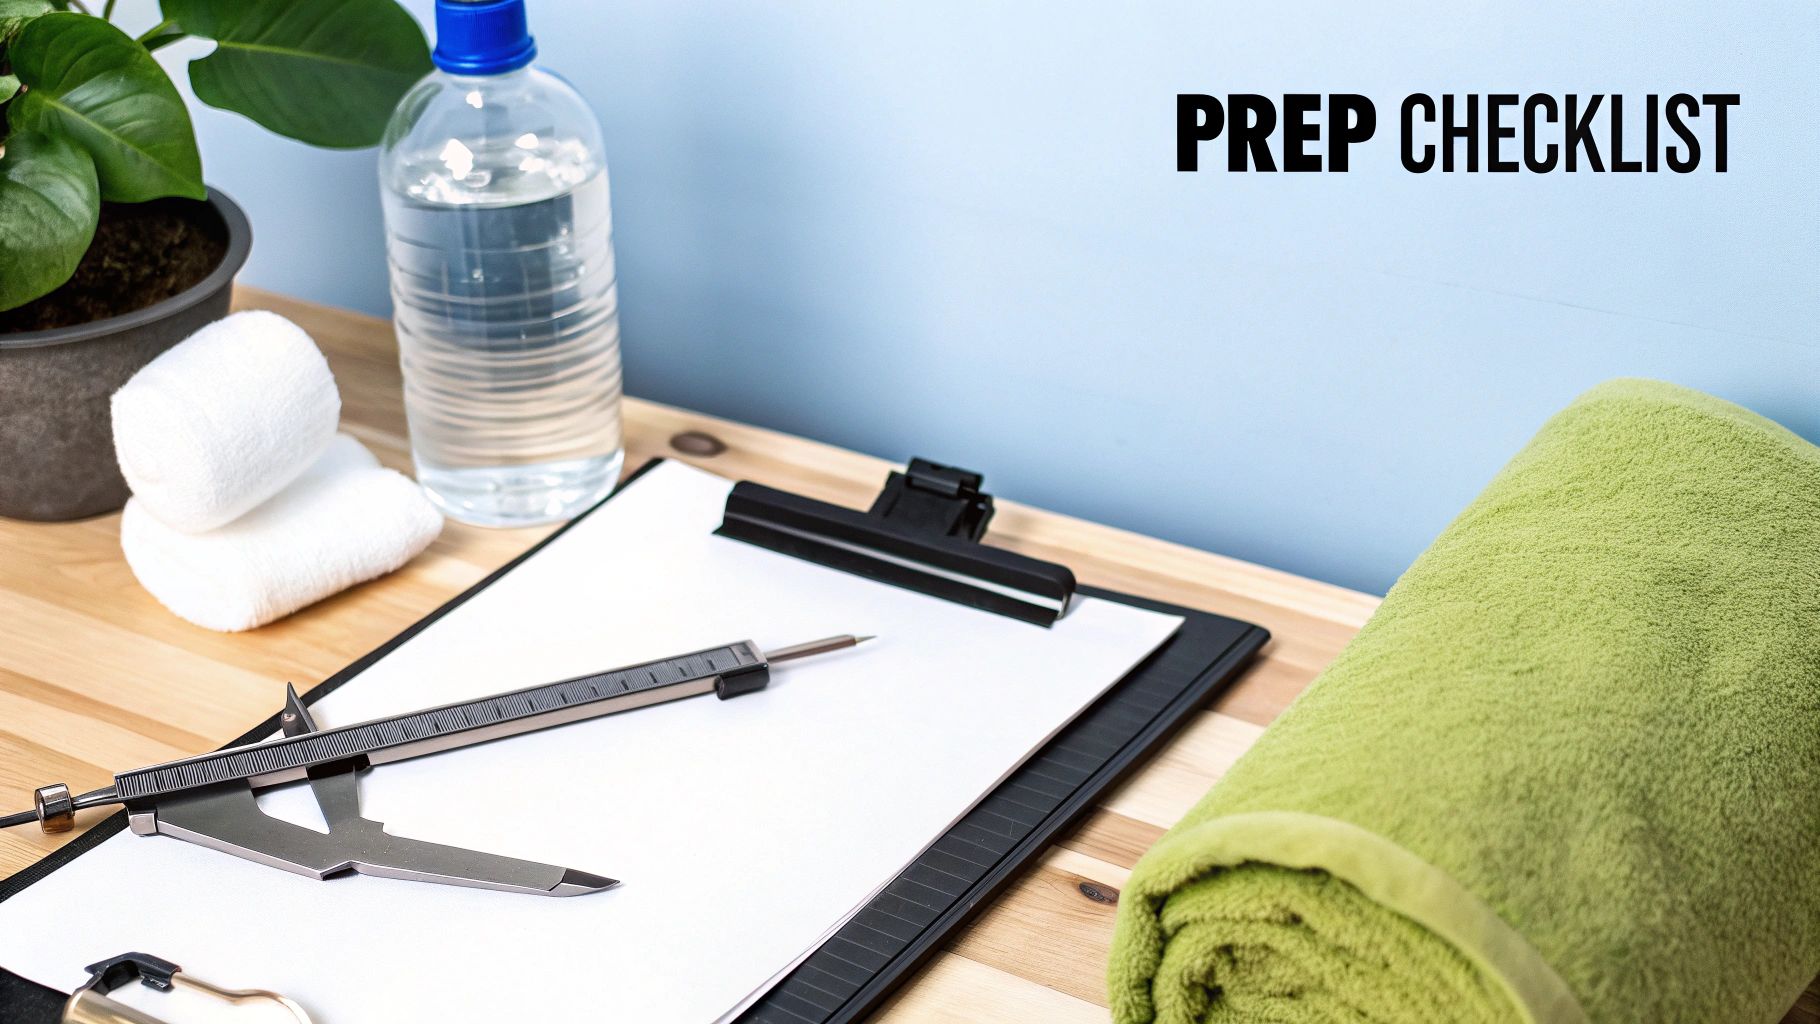
The setup in the picture above shows just how simple the toolkit is, but it also highlights the importance of preparation. Having everything laid out and organized makes the process smoother, more professional, and less distracting for everyone involved.
Preparing the Client for Success
You can have the best technique in the world, but if your client isn't prepped correctly, your readings will be off. Little variables can create big errors, so clear instructions beforehand are non-negotiable.
Here’s what to tell your clients to ensure the most reliable results:
- No Lotions or Oils: Skin needs to be clean and dry. Moisturizers make it slippery and tough to get a firm, clean pinch of the skinfold.
- Avoid Intense Exercise Beforehand: A hard workout can shift fluid balances around the body, which can mess with skinfold thickness. It's always best to measure when the client is rested.
- Stay Normally Hydrated: Being dehydrated can make the skin feel tighter, while being over-hydrated can sometimes thicken the subcutaneous layer. Just tell them to drink a normal amount of water.
The ultimate goal is to create a consistent testing environment every single time. By controlling these factors, you can be confident that the changes you're tracking over time reflect real shifts in body composition, not just random daily fluctuations. For a deeper dive, check out this guide on why assessment reliability is crucial.
A Quick Look Back: The History of Skinfold Testing
This common practice has a pretty interesting backstory. The idea of body fat measurement using calipers began over a century ago, with pioneers like French anatomist Paul Richer being among the first to pinch skinfolds to get a handle on subcutaneous fat.
But the real game-changer came in the 1980s, when plastic calipers hit the market for less than $20. This made the technology accessible to virtually everyone. Suddenly, gyms and clinics all over the world could offer body fat testing with respectable accuracy, taking what was once a lab-based technique and making it a portable, everyday tool for fitness professionals.
Getting Your Toolkit Right: Caliper Selection and Care
The numbers you get from a skinfold test are only as good as the tool you're using. If your calipers are cheap, flimsy, or out of alignment, you're introducing a massive margin of error before you even pinch the first site. Investing in the right equipment isn't just about accuracy—it’s about professionalism and earning your client's trust.
When it comes to calipers, the main debate is between professional-grade metal models and their high-quality plastic counterparts. Metal calipers, like the classic Harpenden or Lange, are the gold standard for a reason. You'll find them in research labs and clinical settings where precision is everything. They're built like tanks and engineered to maintain constant jaw pressure, which is crucial for getting consistent results day in and day out.
But let's be realistic. For a busy personal trainer bouncing between clients or a high-traffic gym, a top-tier plastic caliper can be a fantastic, practical choice. They're much more affordable, weigh next to nothing, and honestly, they feel a lot less intimidating to someone who's never had their body fat tested before. The trick is to find one with solid spring tension and markings you can actually read without squinting.
Choosing the Right Caliper for Your Needs
This isn't just about what you can afford; it's about what you need. A university sports science department has a different set of requirements than a mobile PT tracking a client's journey.
Professional Metal Calipers (e.g., Harpenden, Lange): These are the go-to for clinical research and elite performance centers. Precision is their game. They're engineered to apply a consistent pressure of 10 g/mm², the industry standard that allows for valid comparisons across different studies and populations. The upfront cost is higher, but they’ll last a lifetime.
High-Quality Plastic Calipers (e.g., Slim Guide, Accu-Measure): These are the workhorses for personal trainers, gyms, and even for dedicated folks at home. When used with proper technique, they are impressively accurate. Their portability and lower price make them a perfect entry point for any professional. If you want to see what's out there, this collection of professional skin-fold calipers is a great place to start.
Is Your Caliper Telling the Truth?
You’d never use a bathroom scale that's off by five pounds, right? The same logic applies here. You absolutely must check your calipers for accuracy on a regular basis. Over time and with heavy use, they can drift, and suddenly all your measurements are suspect.
You don't need a fancy lab to do a quick spot-check.
- The Zero Test: Start by closing the jaws completely. The dial should read exactly zero. If it doesn’t, most professional models have a small screw you can use to zero it out.
- The Range Test: Next, grab a precision ruler or, better yet, a calibration block. Open the jaws to a specific width, like 20mm or 40mm, and see if the reading on your caliper matches. If there's a discrepancy of more than a millimeter, it's a red flag. It might be time to send it for professional recalibration or consider a replacement.
I make a habit of doing this check every month. In a busy gym setting, you might even do it weekly. It takes 30 seconds and protects the integrity of every measurement you take. It's a tiny habit that prevents big problems.
Hygiene and Maintenance: The Non-Negotiables
This part is simple: clean your tools. Your calipers are touching people's skin all day long. Sanitation between clients isn't just good practice; it's a fundamental health and safety requirement.
After every single assessment, wipe the caliper jaws down with an alcohol wipe. It removes skin oils and prevents any chance of cross-contamination. When you're done for the day, store your calipers back in their protective case. This keeps them safe from dust, damage, or an accidental drop that could knock the delicate spring mechanism out of alignment.
Treat your calipers with care, and they'll give you precise, reliable data for years.
Mastering Your Skinfold Measurement Technique
Now that your calipers are ready to go, we get to the real craft of the measurement itself. This is where precision and a steady hand make all the difference. A sloppy technique can easily throw your results off by several percentage points, making them pretty much useless. The goal here is to build a consistent, repeatable method so you can trust every single reading.
The foundation of a good measurement is the pinch. It sounds simple, but there's a knack to it. You need to grasp a clean, double-fold of skin and the subcutaneous fat right underneath it, all without grabbing the muscle below.
The Art of the Pinch
Before the calipers even touch the skin, you have to get the grasp right. Use your thumb and index finger to firmly pinch the skin at the designated spot. A good rule of thumb is to keep your fingers about 8 cm (roughly 3 inches) apart. This gives you enough leverage to lift the fold away from the body.
The trick is to pull the skin and fat layers straight out from the muscle. If you pinch and feel a dense, hard mass, you’ve probably got muscle in there. Let go and try again with a slightly smaller section. A proper skinfold should feel pliable, not rigid.
Finding Your Landmarks: Consistency is Key
Your measurements are only as good as your ability to find the exact same spot every time. Being off by even an inch makes tracking progress impossible. Different formulas use different sites, but let's walk through three of the most common ones from protocols like the Jackson-Pollock method.
- Triceps: This one is on the back of the upper arm. You'll need to find the midpoint between the bony tip of your shoulder (the acromion process) and the point of your elbow (the olecranon process). Once you find that halfway mark, take a vertical pinch right there.
- Subscapular: Located on the back, just below the shoulder blade. Have the person relax their shoulders and find the very bottom tip of their scapula (shoulder blade). The measurement is taken about 2 cm below this point, with the fold running at a 45-degree angle, pointing down and away from the spine.
- Suprailiac: Find the top, front point of the hip bone (what’s technically called the anterior superior iliac spine). The measurement is taken just above this bony crest, with the skinfold grasped at a diagonal angle that follows the natural crease of the skin.
Don't eyeball these locations. Using a flexible tape measure to find the exact midpoint for the triceps, for example, is what separates a professional from an amateur. It removes the guesswork and makes your data solid.
Applying the Caliper
Okay, you've got a clean skinfold held securely between your thumb and forefinger. Now it's time to bring in the caliper, and this is where people often rush and mess up.
Keep holding that pinch the entire time. Place the caliper jaws about 1 cm away from your fingers, perfectly perpendicular to the skinfold. That little gap is critical—too close, and your fingers will affect the reading; too far, and you're not measuring the base of the fold correctly.
Expert Tip: Whatever you do, don't let go of the pinch when you apply the calipers. Your fingers must hold that fold steady from start to finish. If you release the pinch too soon, the fold decompresses, and you'll get a reading that's artificially low.
Once the jaws are in place, release the caliper's trigger so the spring tension takes over. And now… you wait. Just for a moment. Don't record the number instantly. You’ll notice the needle "creep" down a bit as fluid is displaced from the compressed tissue.
When to Take the Reading
The magic window for reading the dial is between 1 and 2 seconds after the caliper jaws are fully released. If you wait any longer than four seconds, the tissue will compress too much, and your measurement will be an underestimation.
For instance, the needle might jump to 18mm right away, then settle to 16mm a second later. That 16mm is your real reading. Go ahead and record that number, getting it to the nearest half-millimeter if your calipers are that precise.
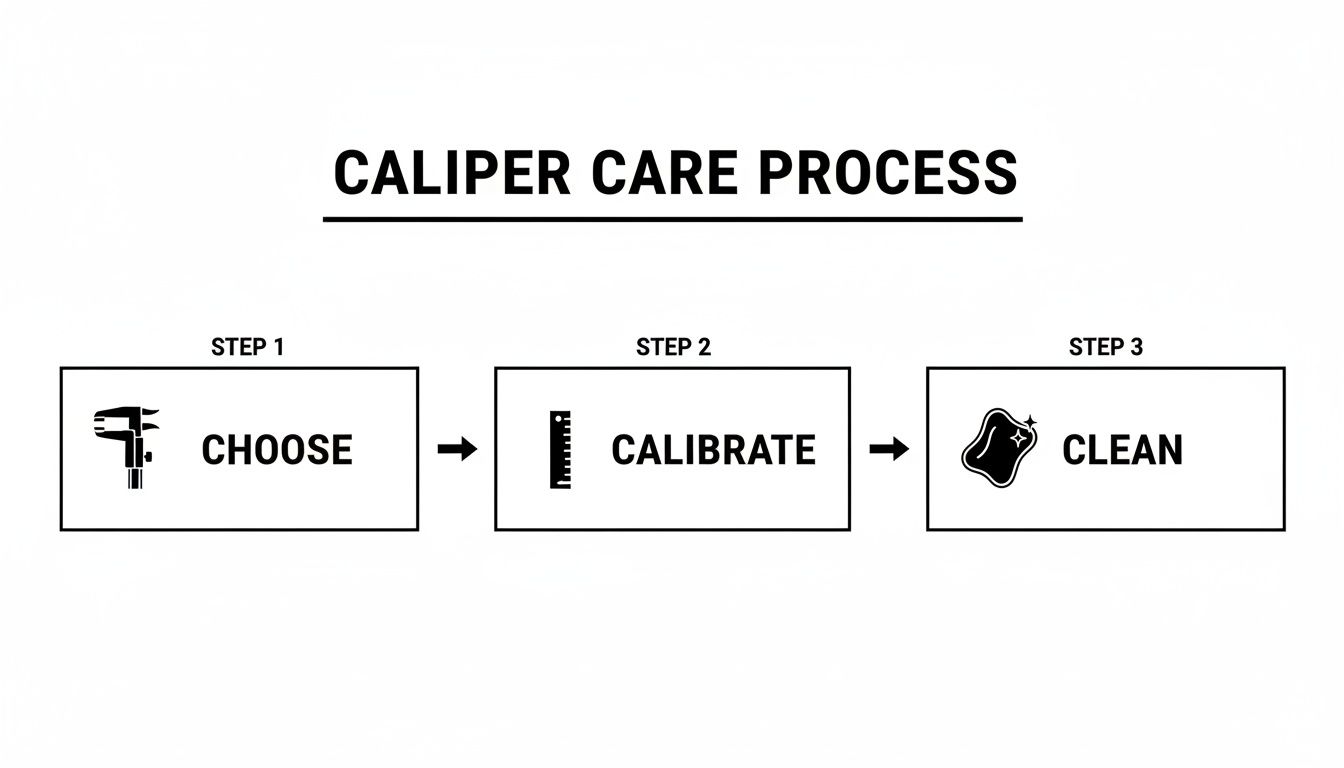
As this shows, getting reliable results starts way before you ever pinch any skin. It begins with choosing the right tool and making sure it's calibrated and clean.
Why You Should Always Repeat Your Measurements
Never, ever trust a single measurement. It’s just not reliable enough. Between tiny shifts in position and natural variations in the tissue, one reading is just a single data point. To get a number you can actually count on, you have to take multiple measurements at every single site.
Here’s a simple, field-tested protocol to follow:
- Go through and measure all of your chosen sites one time (e.g., triceps, then subscapular, then suprailiac).
- Circle back to the beginning and measure all the sites a second time, in the same order.
- If the two readings for a specific site are within 1-2 mm of each other, you're good. Just average them and move on.
- If they are more than 2 mm apart, something’s off. Take a third measurement at that site and use the median (the middle number) of the three.
Cycling through the sites like this gives the skin at each location a chance to decompress before you measure it again, which prevents your first pinch from affecting the second.
Let’s say your first two triceps readings are 14mm and 15mm. They're close, so you'd average them to get 14.5mm. But if the readings were 14mm and 17mm, that’s too big of a gap. You’d take a third measurement. If that one came out to be 15mm, your three readings are 14, 15, and 17. The median is 15mm, and that's the number you record. This systematic approach is what turns raw data into quality data—the kind you need for the final calculations.
Picking the Right Skinfold Sites and Formulas
Once you've nailed your pinching technique, the next question is where to measure and what to do with the numbers. This is where a body fat measurement using calipers goes from a simple pinch-and-read exercise to a truly personalized assessment.
Not all formulas are created equal. In fact, choosing the wrong one can give you a number that’s technically correct but completely meaningless for the person standing in front of you. A formula developed for college athletes will be way off for a middle-aged, sedentary client. The sites you choose, and the equation you plug them into, absolutely must match your client's age, gender, and activity level.
The Jackson–Pollock Protocols: The Industry Standard
When you’re starting out, the Jackson–Pollock methods are your bread and butter. They’re the most widely recognized formulas in the fitness world, mainly because they were developed using large, diverse groups of people. This gives them a solid, reliable foundation for most clients.
You'll run into two main versions: the 3-site and the 7-site.
The Jackson–Pollock 3-Site protocol is your go-to for efficiency. It’s perfect for general population clients when you're short on time. The measurement sites are gender-specific, which cleverly accounts for typical differences in fat storage patterns between men and women.
- For Men: You'll measure the Chest, Abdominal, and Thigh.
- For Women: The sites are the Triceps, Suprailiac (right above the hip bone), and Thigh.
This quick approach gives you a dependable estimate without making the client feel uncomfortable for too long. For most personal trainers in a busy gym, this is the best place to start.
When you need a more granular analysis, the Jackson–Pollock 7-Site protocol is the way to go. It paints a much clearer picture of total body fat distribution by taking readings from both the upper and lower body. It takes a few extra minutes, but the extra data points almost always lead to a more accurate calculation.
The seven sites are the same for both men and women:
- Chest
- Midaxillary (directly under the armpit)
- Triceps
- Subscapular (just below the shoulder blade)
- Abdominal
- Suprailiac
- Thigh
This protocol is fantastic for athletes, serious fitness enthusiasts, or any client where you want the most thorough baseline measurement you can get. The additional sites help smooth out any inconsistencies in where someone stores fat, giving you a more robust final number.
A rookie mistake I see all the time is mixing and matching sites from different protocols. These equations are built on a very specific set of inputs. If a formula calls for a triceps measurement, you can't just swap it for a bicep measurement and hope for the best. Stick to the script and use only the sites prescribed for the formula you've chosen.
Selecting the Best Protocol for Your Client
So, how do you decide between a 3-site, 7-site, or another specialized formula? It’s a classic balancing act between precision and practicality. You have to weigh the client's comfort level, your own time constraints, and what you’re trying to achieve with the assessment.
Imagine you're training a new female client who is overweight and just starting her fitness journey. Putting her through a 7-site test, which requires measuring spots near her bra line and on her back, could feel incredibly invasive and discouraging on day one. In this scenario, the 3-site is a much smarter choice. It’s fast, less intrusive, and still gives you a solid number to track progress against.
On the other hand, if you're assessing a competitive bodybuilder, the 7-site is the only real option. It captures a comprehensive view of their lean mass and exceptionally low body fat, which is critical for dialing in their contest prep.
To help you choose, here's a look at some of the most common protocols and who they're best for.
Comparison of Common Skinfold Measurement Protocols
| Protocol Name | Number of Sites | Common Measurement Sites | Best Suited For |
|---|---|---|---|
| Jackson-Pollock 3-Site | 3 (Gender-Specific) | Chest, Abdominal, Thigh (Men) Triceps, Suprailiac, Thigh (Women) | General population, time-crunched settings, clients new to testing. |
| Jackson-Pollock 7-Site | 7 (Same for All) | Chest, Midaxillary, Triceps, Subscapular, Abdominal, Suprailiac, Thigh | Athletes, dedicated fitness clients, baseline clinical assessments. |
| Durnin-Womersley 4-Site | 4 (Same for All) | Biceps, Triceps, Subscapular, Suprailiac | General population, and often used for adolescents and younger adults. |
| Parrillo 9-Site | 9 (Same for All) | Includes niche sites like calf, lower back, and hamstring. | Bodybuilders and physique athletes seeking maximum detail on lean individuals. |
As you can see, choosing the right formula isn't just a technical detail—it's part of building trust and rapport with your client. It shows them you're thoughtfully applying your expertise to their specific situation instead of just running through a generic checklist. When you make a considered choice, the body fat measurement using calipers becomes a powerful tool that provides valuable, actionable information to guide their fitness journey.
Translating Millimeters Into Body Fat Percentage
Alright, so you've meticulously pinched and measured. You have a list of skinfold thicknesses in millimeters, but right now, they're just numbers on a page. The real magic happens when we translate this raw data into a body fat percentage that you and your client can actually understand and track.
This isn't a one-step process. First, we'll take those millimeter readings and plug them into a specific formula (like one of the Jackson-Pollock protocols) to calculate your client's body density. Think of body density as a measure of compactness—it’s simply the relationship between body mass and the space it takes up.
The math might look a little intimidating at first glance, but once you pop your numbers in, the formulas are quite straightforward.
From Skinfolds to Body Density
This is where your expertise really comes into play. You can't just grab any old formula; each one is built for a specific population. Trying to use an equation designed for a 25-year-old male athlete on a 50-year-old female client is a recipe for a wildly inaccurate result. Precision is everything.
Let's run through a common scenario using the Jackson-Pollock 3-site formula for a male client. For this one, you need the chest, abdominal, and thigh skinfold measurements.
- Sum of 3 skinfolds: Add up the millimeter readings from those three spots.
- Age: The client's age in years is also a key variable.
The formula to get body density (BD) for men looks like this:
BD = 1.10938 – (0.0008267 x Sum of 3 skinfolds) + (0.0000016 x [Sum of 3 skinfolds]²) – (0.0002574 x Age)
Yes, it's a bit of a mouthful, but it's just a matter of careful substitution. If you'd rather not break out the scientific calculator, a quality online tool can be a lifesaver. This seven-site skinfold calculator is a great example—it automates the process and helps eliminate simple calculation errors.
Key Takeaway: Always triple-check that you're using the correct formula. It must match the sites you measured and the gender and age of your client. These equations are not interchangeable and are the bedrock of an accurate final percentage.
Converting Body Density to Body Fat Percentage
Once you have that body density value, you're on the home stretch. The final step is to convert that density figure into the number we’re actually after: the body fat percentage.
There are two gold-standard equations for this, the Siri and the Brozek. Both are highly respected and give very similar results.
The Siri equation is the most widely used and is refreshingly simple:
Body Fat % = (495 / Body Density) – 450
The Brozek equation is a well-regarded alternative:
Body Fat % = (457 / Body Density) – 414.2
My advice? Pick one and stick with it. Consistency is crucial for tracking a client's progress over time.
Putting It All Together: A Real-World Example
Let's walk through the entire calculation. Say you're working with a 40-year-old male client.
- You take the 3-site measurements:
- Chest: 15 mm
- Abdominal: 25 mm
- Thigh: 20 mm
- You get your sum:
- Sum = 15 + 25 + 20 = 60 mm
- Now, plug the sum and age into the Body Density formula:
- BD = 1.10938 – (0.0008267 x 60) + (0.0000016 x 60²) – (0.0002574 x 40)
- BD = 1.10938 – 0.049602 + 0.00576 – 0.010296
- BD = 1.055242
- Finally, convert that density to body fat using the Siri equation:
- Body Fat % = (495 / 1.055242) – 450
- Body Fat % = 469.06 – 450
- Body Fat % = 19.1%
And there you have it. By following this logical sequence, you’ve turned a few simple skinfold readings into a powerful metric that gives you the data-driven insight needed to guide your client's fitness journey with true precision.
Making Sense of the Numbers and Sidestepping Common Mistakes
Once you've run the numbers through the formula, you're holding a body fat percentage. But on its own, that single figure doesn't tell you much. The real art of a professional assessment isn't just in the measurement—it's in the interpretation and how you communicate that result.
A classic rookie mistake is to treat that number like a final grade on a test. Its true value isn't as a standalone metric, but as a tool for tracking change over time. A single reading is just a snapshot, a starting point. The trend line that emerges over weeks and months is what tells the real story of a client's progress.
To give that first number some context, it's a good idea to compare it against normative data. These charts show you the average body fat percentages for different age groups and genders, which helps your client see where they fit in the broader population. This immediately reframes the conversation from "is this number good or bad?" to understanding it as a meaningful health marker.
The Most Common Measurement Mistakes
Look, even if your math is flawless, the final result is only as good as the measurements you took in the first place. Bad data in means bad data out, and that's a surefire way to frustrate both yourself and your client. When it comes to using calipers, precision is everything.
I've seen the same few errors pop up time and time again. Here’s what to watch out for:
- Inconsistent Site Marking: Just eyeballing the landmarks is probably the biggest source of unreliable data. You absolutely have to use a flexible tape measure and a skin-safe marker to pinpoint the exact site, every single time. No exceptions.
- Poor Pinch Technique: It’s easy to grab too much tissue (pulling in the underlying muscle) or not enough (just pinching the very top layer of skin). A proper skinfold should feel firm, yet pliable. If the pinch feels rock-hard, you’ve probably grabbed muscle along with the fat.
- Incorrect Caliper Placement: The caliper jaws can't be touching your fingers, but they also can't be too far from the base of the fold. Aim for a consistent 1 cm gap between where your fingers are holding the pinch and where the caliper jaws are placed.
The name of the game is consistency. If your technique is identical every time you measure, then you can be confident that any change in the numbers reflects a real change in your client’s body composition, not just a flaw in your process. That’s how you build trust in your tracking.
Ensuring Reliable Progress Tracking
To make your data genuinely useful for the long haul, you have to control every variable you can. Seemingly small inconsistencies can add up, muddying the waters and making it impossible to know if a change is real or just measurement noise. Think of each assessment as a mini-scientific experiment.
These are the non-negotiables for trustworthy tracking:
- Same Technician: If at all possible, the same person needs to do the measurements every time. We all have a slightly different feel and technique.
- Same Calipers: Stick with the exact same pair of calipers for every test. Different models, and even different units of the same model, can have slight variations in spring tension.
- Same Time of Day: Always measure at a consistent time, ideally in the morning before they've eaten or exercised, to minimize daily fluctuations from hydration and meals.
- Same Side of the Body: Be consistent. Traditionally, all measurements are taken on the right side of the body. Whichever you choose, stick with it.
Following these principles is what elevates your body fat measurement using calipers from a simple number-gathering exercise to a professional assessment that delivers actionable, reliable insights.
At Cartwright Fitness, we know that accuracy starts with the right tools. Our selection of professional-grade calipers and assessment equipment is chosen to give you the confidence to deliver precise, repeatable results for your clients. You can explore our full range of health and fitness testing equipment.


