

The vertical jump test is a classic for a reason. At its core, it's a straightforward way to measure an athlete's explosive lower-body power. We're looking at the maximum height someone can jump straight up from a standing start, which gives us a direct window into how quickly they can generate force. It’s a single, powerful metric that tells a much bigger story about overall athleticism.
Why the Vertical Jump Is a Cornerstone of Athletic Testing
Don't think of the vertical jump as just a number. It's a peek under the hood at an athlete's power plant, and that’s why it’s a foundational piece of any serious athletic performance testing program. For such a simple movement, it reveals an incredible amount about an athlete's potential, making it a go-to for coaches in just about every sport imaginable.
Picture a spring being coiled and then released. The speed and force of that release is exactly what the vertical jump measures in your lower body. It quantifies your ability to generate maximum force in a minimum amount of time. That's the very definition of power, and it’s a game-deciding factor in sports like basketball, volleyball, and football, where a split-second burst can make all the difference. A higher jump almost always goes hand-in-hand with faster sprinting and quicker cuts.
A Look at Neuromuscular Efficiency
Beyond just raw strength, the test gives us clues about an athlete's neuromuscular efficiency. This is all about how quickly and effectively the brain can send signals to the muscles, telling them to contract powerfully and in perfect sequence. A truly impressive vertical jump isn't just the result of strong legs; it’s the product of a finely tuned, high-speed connection between the nervous system and the muscular system.
Think of the vertical jump test as a diagnostic tool. A low score might tell us we need to focus on building foundational strength. On the other hand, if an athlete is strong but their jump looks clumsy, it points toward a need to refine technique and motor control.
A Test with a Proven Legacy
The vertical jump isn't some new fad; it has serious history. It goes all the way back to the Sargent Jump Test, developed by Dr. Dudley Sargent in 1921, making it one of the very first standardized tests of athletic ability.
Even after a century, it remains one of the most trusted performance assessments worldwide because it’s simple, reliable, and incredibly effective. The jump height itself has a strong correlation with an athlete's capacity for rapid force production. You can dive deeper into its history and application in this research on the vertical jump test. This long track record proves its value. By understanding what this single movement reveals, you're laying the groundwork to improve it and unlock your true athletic potential.
The Science of a Powerful Jump

Ever wondered what separates a small hop from an explosive, gravity-defying leap? It's not magic. It's a beautifully coordinated dance of biomechanics happening in the blink of an eye.
At its core, a great vertical jump is all about how efficiently an athlete can load and unload their body's natural "springs." To really get a handle on improving your jump, you first need to understand what’s happening under the hood. The whole thing breaks down into three distinct phases.
The Three Phases of a Jump
Think of a powerful jump as a very short, explosive story with a clear beginning, middle, and end. Each part seamlessly builds on the last, all culminating in that moment of liftoff.
- The Dip (Countermovement Phase): This is the wind-up. You quickly drop your hips and swing your arms back, essentially coiling the spring and loading your muscles and tendons with potential energy.
- The Pause (Amortization Phase): This is the make-or-break moment. It's that split second at the bottom of the dip where your downward momentum stops and reverses into upward thrust. A long pause here is a power killer—energy just leaks away.
- The Push (Concentric Phase): This is the grand finale. It’s the explosive extension of your hips, knees, and ankles, perfectly timed with a powerful upward arm swing. All that stored energy from the dip is released, launching you skyward.
This entire sequence is driven by a neat trick of our physiology known as the stretch-shortening cycle.
The Rubber Band Effect
The easiest way to grasp the stretch-shortening cycle (SSC) is to picture a rubber band. If you just drop a slack rubber band, it goes nowhere. But stretch it back first, and it flies across the room.
Your muscles and tendons work the exact same way. The rapid dip (the stretch) stores elastic energy. This energy is then unleashed during the explosive push (the shortening), resulting in a far more powerful muscle contraction than you could ever get from a static start.
This "free" energy is why you can jump so much higher with a wind-up than you can from a dead stop in a squat. The speed and efficiency of that transition from stretching to shortening is what truly defines an athlete's explosive power.
The Secret Ingredient is Speed
While raw strength is a big piece of the puzzle, the real secret to a massive vertical is the speed at which you produce force. In sports science, we call this the Rate of Force Development (RFD). An athlete with a high RFD can tap into their maximum strength almost instantly.
Imagine two cars with the same size engine. One can hit 60 mph in four seconds, while the other takes ten. They have the same top-end power, but the first car is vastly more explosive. In a vertical jump, you only have milliseconds to generate force, which makes a high RFD absolutely essential.
The Kinetic Chain in Action
Finally, a truly powerful jump is a full-body effort, not just a leg exercise. The movement relies on a perfectly synchronized sequence called a kinetic chain, where energy flows smoothly from your feet all the way to your fingertips.
- Arm Swing: Don't underestimate your arms! A well-timed, aggressive arm swing can add a staggering 10-15% to your jump height.
- Hip Extension: Your glutes and hamstrings are the engine. A forceful, explosive hip extension provides the primary thrust for the entire jump.
- Core Stability: A strong core acts like a rigid bridge. It ensures the raw power from your hips is transferred efficiently up through your body instead of getting lost in a wobbly midsection. To maximize your output, strengthening your core muscles is non-negotiable.
When all these parts fire in perfect harmony, the result is an efficient and powerful leap. To dive deeper, you can learn about all the specific https://www.cartwrightfitness.co.uk/what-muscles-are-used-in-jumping/ in our other guide. This understanding changes the vertical jump test from a simple measurement into a true assessment of an athlete's total-body power and coordination.
How to Conduct a Vertical Jump Test Accurately
Getting an accurate measurement is everything. A sloppy test gives you numbers that are basically useless for tracking real progress, so if you want to trust your results, you need a standardized, repeatable process.
Think of it like a science experiment—if you change the variables each time, you can't be sure what actually caused the change in your results. A rock-solid testing protocol ensures that any improvement you see comes from genuine athletic gains, not just a fluke in how you measured it.
This process lays the groundwork for every single testing session.
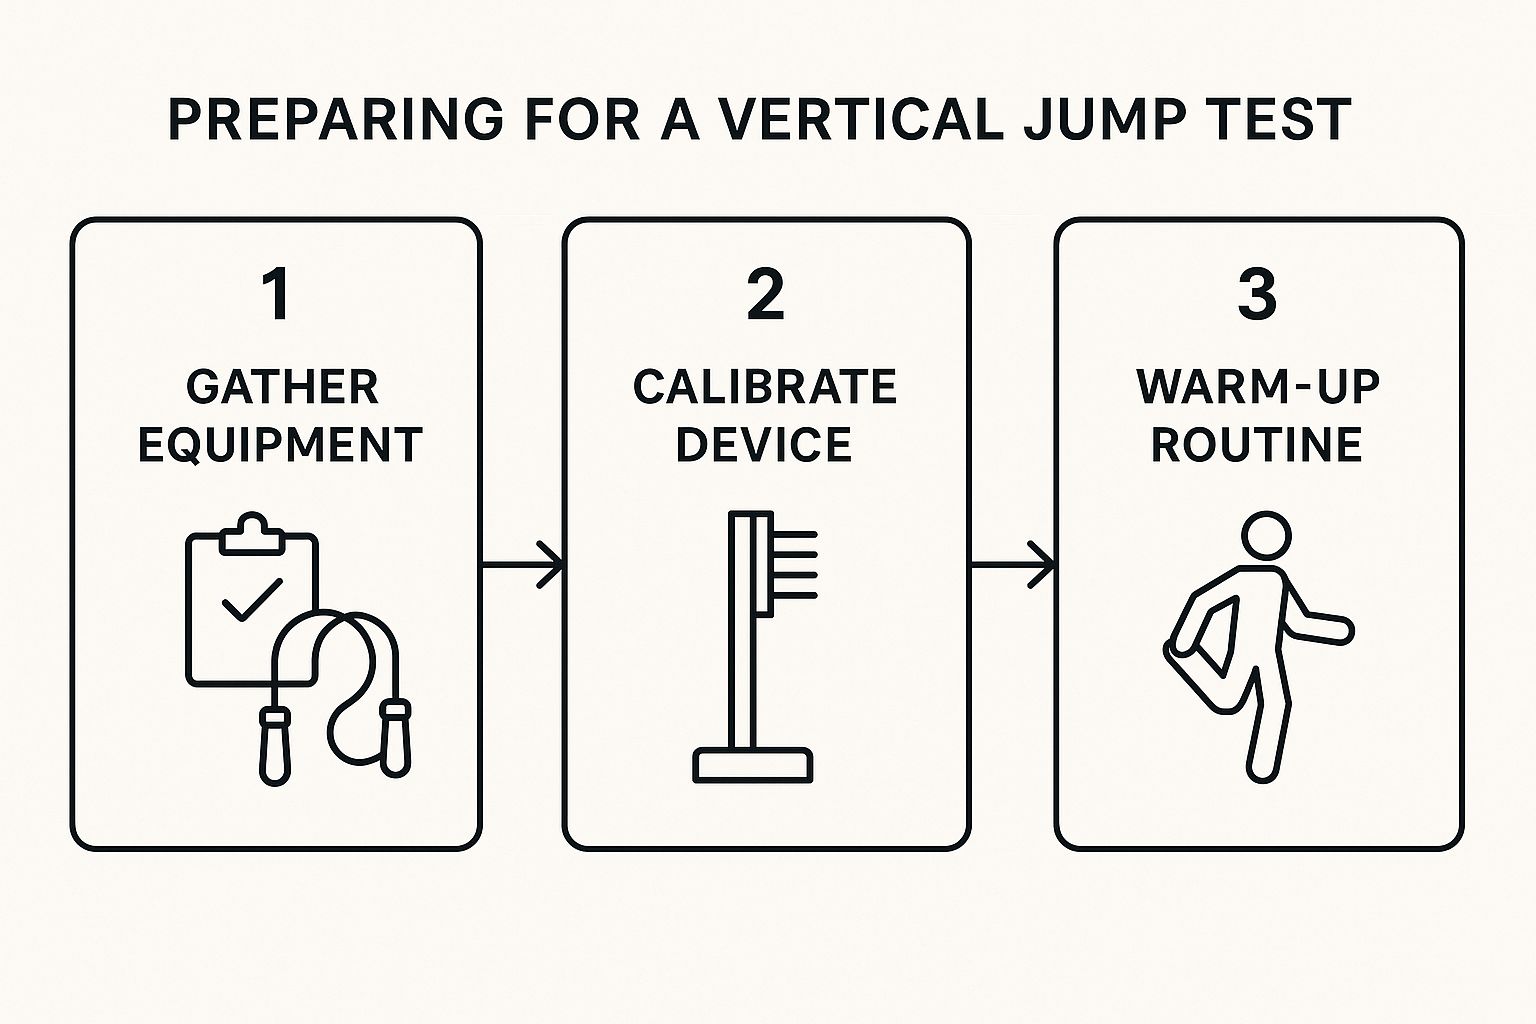
Following this sequence—getting your gear ready, calibrating it, and doing a proper warm-up—is non-negotiable for collecting data you can actually rely on.
Choosing Your Vertical Jump Test Equipment
So, how do you actually measure a vertical jump? You've got a few options, each with its own trade-offs between cost, convenience, and pinpoint accuracy. The right tool really depends on what you're trying to accomplish and what kind of budget you're working with.
Here’s a quick rundown to help you figure out what makes the most sense for you.
Choosing Your Vertical Jump Test Equipment
| Equipment Type | Accessibility & Cost | Accuracy Level | Key Data Provided |
|---|---|---|---|
| Chalk and Wall | Very High / Almost Free | Low | Basic jump height |
| Vertec Device | Moderate / Mid-Range Cost | High | Precise jump height |
| Jump Mat | Moderate / Mid-Range Cost | High | Jump height (from flight time) |
| Force Plates | Low / Very Expensive | Very High | Jump height, power, velocity |
Ultimately, for anyone serious about tracking explosive power, it's worth investing in a dedicated vertical jump measuring device like a Vertec or a jump mat. While the old chalk-on-the-wall method is a classic, the precision of modern tools provides much more reliable feedback for athletes and coaches.
The Step-by-Step Protocol
No matter what equipment you settle on, the fundamental steps for running the test are the same. Standardization is the name of the game here, as it’s the only way to make sure your results are comparable over time.
Step 1: Measure Standing Reach
First things first, you need a baseline. The standing reach is the highest point an athlete can touch with their feet flat on the ground.
- Have the athlete stand with their side against the wall or testing device.
- Make sure their feet are completely flat on the floor—no cheating on their toes!
- Tell them to reach up as high as they can with the hand closest to the wall or Vertec.
- Record that measurement. This is your "zero" point.
Step 2: Administer The Jump Test
Now for the main event. Clear, consistent instructions are critical for getting an athlete’s best effort.
- From a standstill, the athlete will perform a countermovement (a quick dip down) and then explode upward, jumping as high as possible.
- Their goal is to touch the highest possible point on the wall or slap the highest vane they can reach on the Vertec.
- Give them three attempts. It's crucial to allow adequate rest—at least 45-60 seconds—between each jump so they can fully recover and give a true maximal effort.
- Record the peak height they touched during their best jump.
Crucial Tip: A common mistake that ruins a test is allowing a "step-in" or a "crow hop" before the jump. The test must be done from a complete standstill to measure pure vertical power. Any forward momentum invalidates the result.
Step 3: Calculate The Final Score
Figuring out the final score is simple math. It's just the difference between their peak jump height and their starting standing reach.
- Formula: Vertical Jump = Jump Height – Standing Reach
Let's say an athlete has a standing reach of 90 inches and their best jump hits 115 inches. Their vertical jump is 25 inches (115 – 90). That final number is the metric you'll use to track their progress and see how they stack up.
So, What Does Your Vertical Jump Score Really Mean?

Alright, you've done the test and you have your number. Now what? That score isn't just for bragging rights; it’s a crucial piece of data that tells a detailed story about your athletic ability. Knowing how to interpret it is the key to unlocking real improvement and understanding where you actually stand.
Think of your score as a single frame in a movie. On its own, it’s interesting, but its true meaning only snaps into focus with context. To get that context, you need to see how your result stacks up against established benchmarks.
Benchmarking Your Performance
The first step is simple: see how your jump height compares to others. Performance isn't a one-size-fits-all metric. It shifts dramatically based on age, gender, and the unique demands of a sport. A jump that's fantastic for a high school soccer player might be just average for a professional volleyball player.
This comparison is what turns an abstract number into a meaningful metric. It answers the big question: "Is my score good for someone like me?"
For example, data shows that the average vertical for male high school athletes usually falls between 20 and 24 inches. Move up to the college level, and that number climbs to around 24 to 26 inches as athletes hit their developmental peak. At the professional level, NBA players often post jumps between 28 and 33 inches, a clear indicator of what elite, specialized training can do. If you want to dive deeper into the numbers, you can check out these vertical jump height insights for men.
To give you a general idea of where you might land, here's a quick guide.
General Vertical Jump Norms for Male Athletes
| Rating | Jump Height (Inches) | Description |
|---|---|---|
| Excellent | 28+ | Elite-level explosive power, often seen in professional sports. |
| Very Good | 24 – 28 | A high level of athleticism, common among collegiate athletes. |
| Good | 20 – 24 | A solid score showing good power, typical for competitive high school athletes. |
| Average | 16 – 20 | A respectable baseline for the general active population. |
| Below Average | < 16 | Suggests a clear area for improvement in power development. |
Decoding Your Athletic Profile
Beyond just comparing scores, your vertical jump offers a deep look into your personal athletic makeup. It's a fantastic diagnostic tool for spotting specific strengths and, more importantly, weaknesses.
Ever see an athlete who can squat a ton but has a disappointing vertical? It’s a classic scenario. This tells us they have plenty of raw strength, but they can't apply it quickly. Their rate of force development (RFD) is likely the bottleneck, meaning their training should pivot from just heavy lifting to more explosive work like plyometrics.
A vertical jump test doesn't just measure how high you can leap; it measures how efficiently you can convert strength into explosive, athletic power. It separates the strong from the powerful.
On the flip side, you might have a lighter athlete who jumps out of the gym but struggles with heavy weights. This profile suggests they're incredibly efficient with the strength they have, but they might hit a performance ceiling unless they build a stronger foundation.
The Importance of Relative Power
This brings us to one of the most critical concepts in performance: relative power. This is simply your power output relative to your body weight. Think about it—a 300-pound lineman with a 25-inch vertical is generating a massive amount of force. But a 180-pound point guard with the same 25-inch jump has a much higher power-to-weight ratio.
- Raw Power: The absolute force you can produce.
- Relative Power: Your "pound-for-pound" explosiveness.
For almost any sport that involves sprinting, cutting, and jumping, relative power is the name of the game. It’s a direct reflection of an athlete’s ability to move their own body through space with speed and efficiency. The vertical jump is one of the best ways to measure this, giving you a clear picture of your functional, on-field athleticism. When you understand this, you can start building a training plan that truly makes a difference.
Of course. Here is the rewritten section with a more natural, human-expert tone.
Common Mistakes That Limit Your Jump Height
There’s more to a big vertical jump than just raw power. It’s all about clean, efficient technique. So many athletes leave inches on the table because of small, fixable mistakes in their form. Honestly, zeroing in on these common errors is one of the quickest ways to see your score jump up to where it should be.
The tricky part is that these technical flaws are often subtle habits you've built over time. An inefficient movement can feel completely normal, but it's quietly robbing you of power. Think of yourself as a technique detective—your job is to find these energy leaks and patch them up for some immediate gains.
The Mistimed or Weak Arm Swing
I see this one all the time. A passive or poorly timed arm swing is probably the most frequent and costly mistake a jumper can make. A lot of people treat their arms like an afterthought, just letting them drift up instead of actively driving them to build momentum.
What it looks like: The swing looks slow and lazy. The arms don't get fully behind the body during the dip, or they don't punch up and block aggressively overhead at the top of the jump. It just looks disconnected from what the legs are doing.
How to fix it: Start practicing "rip and block" drills. Just stand in place and swing your arms back violently as you dip, then explode them upward like you’re trying to punch the ceiling. You want to stop them abruptly overhead. This trains the powerful, synchronized timing that lets you transfer momentum through your whole body. A truly aggressive arm swing can tack on an extra 10-15% to your jump height.
An Inefficient Countermovement Dip
The countermovement—that little dip you do before you explode up—is where you load the spring. If you get this part wrong, you're starting the jump with less stored energy. You’re basically kneecapping your own jump before you even leave the floor.
Two big mistakes happen here: dipping too deep or not deep enough.
- Dipping Too Deep: Dropping into a full squat is just too slow. It kills the elastic "rubber band" effect of your muscles and turns an explosive jump into a slow, grinding lift.
- Dipping Too Shallow: On the other hand, a tiny little dip doesn't stretch the muscles enough to store any meaningful energy, which leads to a pretty weak push-off.
The Fix: You have to find your personal sweet spot. For most athletes, the sweet spot is a quick drop into a quarter-squat position. The key is to make the movement fast and aggressive—think "down fast, up faster."
Poor Landing Mechanics
What goes up must come down, right? Well, how you land really matters. A sloppy, stiff landing isn't just a recipe for injury; it’s usually a sign of sloppy movement patterns that are also holding back your takeoff.
What it looks like: Landing with stiff, straight legs that absorb impact like a brick. You might also see the knees collapse inward, a dangerous pattern known as valgus collapse. These are major red flags for instability and a lack of motor control.
How to fix it: Work on landing softly and quietly, almost like a cat. You need to absorb the force through your ankles, knees, and hips, finishing in that same athletic quarter-squat position you started in. A great way to practice this is with drop jumps—just step off a low box and focus on "sticking" the landing, holding it for a solid three seconds to build control. Clean up your landing, and you'll find your entire jump becomes more efficient and powerful.
How Aging Impacts Explosive Power
It’s just a fact of life: our bodies change as we get older. Think of it like a classic car—that engine might not have the same get-up-and-go it had decades ago. In the same way, our muscles naturally start to produce less explosive power over the years. This gradual decline is a totally normal part of the aging process.
So, what's happening under the hood? A few key physiological shifts are at play. The biggest one is a slow loss of muscle mass, a process scientists call sarcopenia. On top of that, the nerve signals telling your muscles to fire can slow down just a bit, and body composition tends to change. It's no surprise, then, that an older person's vertical jump score will typically be lower than a younger person's.
The Power of Muscle Plasticity
But that's not where the story ends. Far from it. The most incredible thing about our muscles is their ability to adapt and get stronger at any age. This quality is known as plasticity. While some decline is inevitable, it’s certainly not a fixed destiny.
For older adults, the vertical jump test isn't just a number. It's a crucial indicator of functional fitness—the ability to generate power quickly for everyday tasks like climbing stairs, getting out of a chair, or even catching yourself before a fall.
Studies on aging consistently show a drop in jump performance. That’s expected. But what's really exciting is that those same studies show that our muscles respond incredibly well to training, even later in life. You only have to look at competitive masters athletes to see the proof.
Training for Lifelong Power
This all points to one thing: with smart and consistent training, older athletes can hold onto impressive levels of power and mobility. The focus just shifts from hitting new personal bests to maintaining strength and keeping that mind-muscle connection sharp.
What does that training look like?
- Resistance Training: The number one priority is building and preserving lean muscle mass.
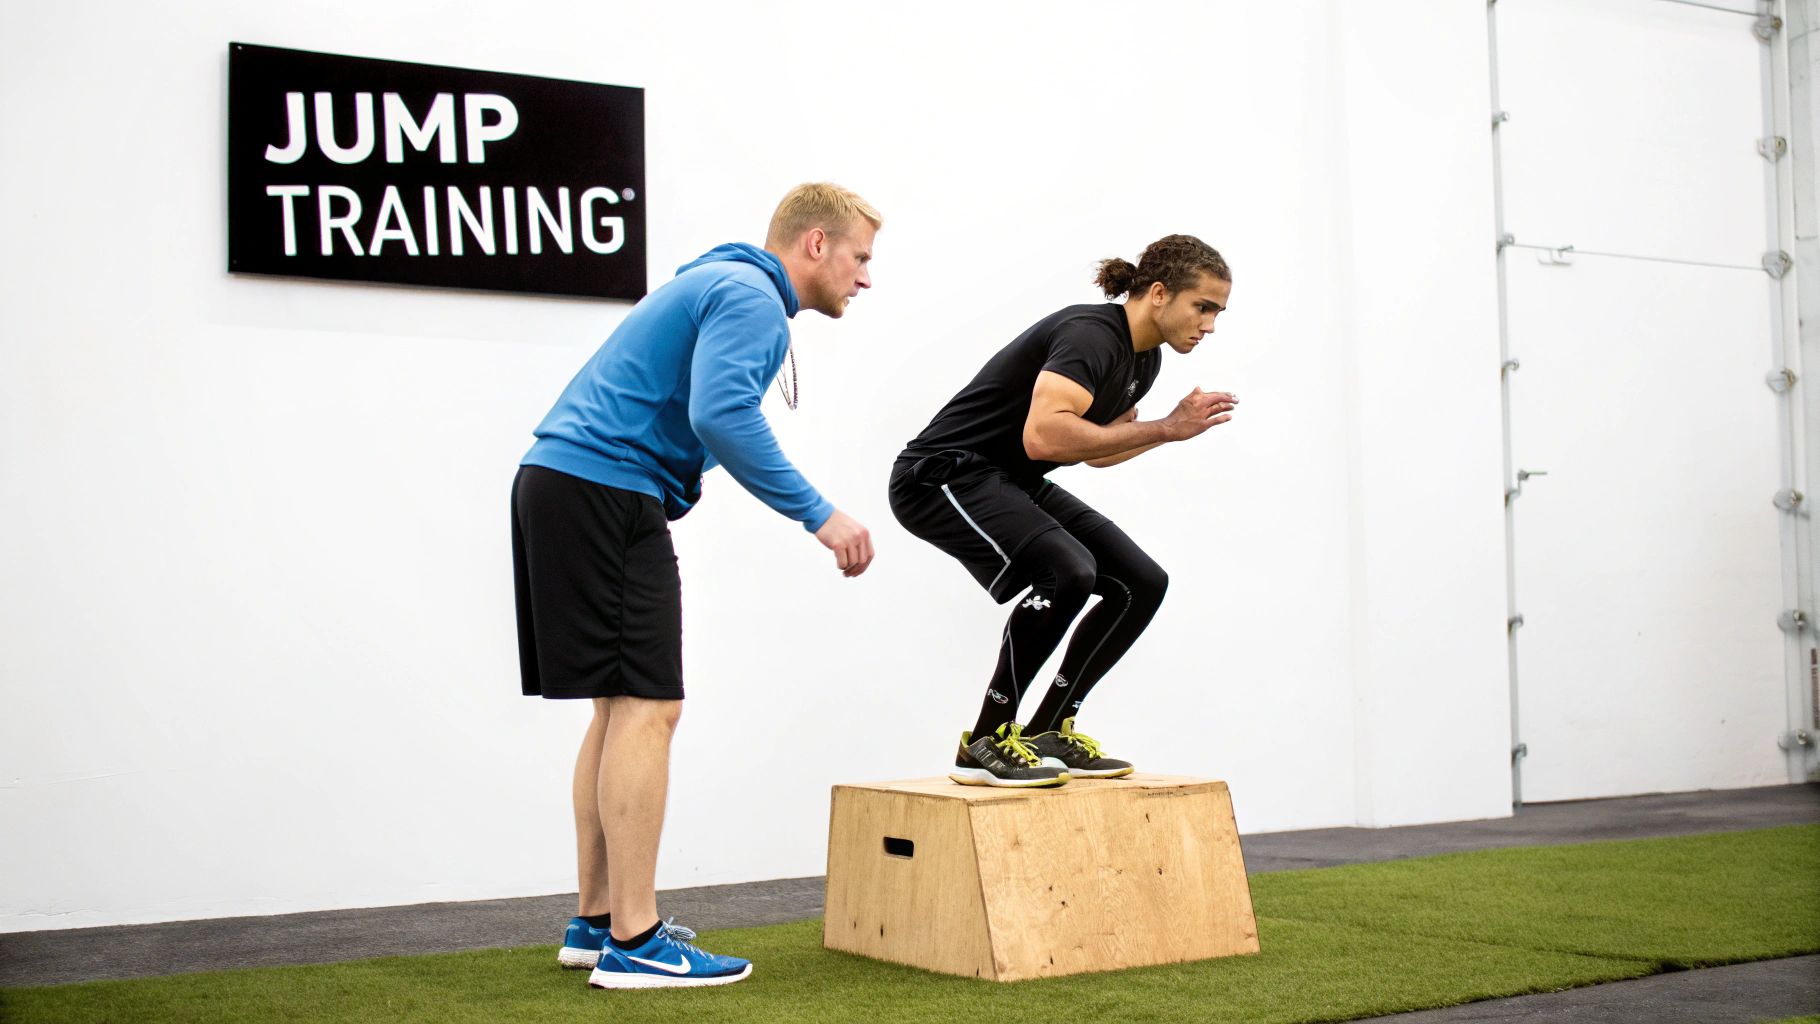
- Low-Impact Plyometrics: You can still train for explosiveness, just more safely. Think about modified exercises like box jumps onto a low, stable box.
While our natural power output may dip over time, the right kind of exercise can do wonders for maintaining strength and agility. Building a safe and effective routine at home is a great place to start, and you might consider exploring home exercise equipment designed for seniors for some ideas.
The vertical jump test then becomes a fantastic way to track your progress, proving that with a little targeted effort, you can stay powerful for years to come.
Got Questions About the Vertical Jump? We've Got Answers.
Even after you've got the basics down, a few common questions always seem to surface. Let's tackle some of the most frequent ones we hear from both athletes and coaches, clearing up the confusion so you can get the most out of your testing.
How Often Should I Be Testing My Vertical?
If you're deep in a training program, re-testing every four to six weeks is the gold standard. That gives your body enough time to actually adapt to the training you've been doing. Any sooner, and you're just measuring daily fluctuations, not real progress.
Not following a specific plan? A casual check-in every two or three months is a great way to keep a pulse on your explosive power. The biggest rule, though? Always test when you're fresh. A tired jump is a useless measurement.
What's the Real Difference Between a Standing and a Running Jump?
This is a big one, and it comes down to what you're trying to measure. This guide is all about the standing vertical jump, which is a pure, unadulterated test of explosive power from a dead stop. It tells you how much force you can generate, right here, right now.
A running vertical jump, on the other hand, lets you build up a head of steam first. That forward momentum gets converted into upward lift, which is why your running jump is almost always higher. Think of it this way: the standing jump tests raw horsepower, while the running jump tests your ability to use that horsepower in a more dynamic, game-like situation.
The standing jump reveals your body's pure explosive potential. The running jump shows how well you can turn speed into height—a skill crucial for sports like volleyball and basketball.
Can I Actually Get a Higher Jump Without Lifting Weights?
You absolutely can. While lifting is a phenomenal way to build a strong foundation, huge gains can be made with just your body weight, especially if you're not yet an elite athlete.
The secret sauce is plyometrics. Exercises like squat jumps, box jumps, and tuck jumps are your best friends here. They train your body to be more like a rubber band—storing and releasing energy with lightning speed. The key is to treat every single rep like it’s a max-effort attempt. Focus on explosive quality, not just banging out numbers, and you'll see those inches start to climb.
Does My Arm Swing Really Matter That Much?
It's not just a little detail—it’s a game-changer. A powerful, well-timed arm swing can add 10-15% (or more!) to your jump height. It's often the single biggest and fastest way to see improvement.
Your arms act like boosters, creating upward momentum that pulls the rest of your body along for the ride. By dipping them back and then violently throwing them skyward as you explode up, you create a chain reaction that amplifies the force from your legs. Nail down your arm swing, and you'll be amazed at the difference it makes.
At Cartwright Fitness, we provide the high-precision testing equipment you need to accurately measure and track your athletic performance. Explore our validated tools to get the reliable data that drives real results.


