

The 3-site skinfold calculation is a time-tested way to estimate body fat percentage. It's a hands-on method, using a simple caliper to pinch and measure skin thickness at three specific spots on the body.
Developed by researchers Jackson and Pollock, the technique smartly uses different sites for men (chest, abdomen, thigh) and women (triceps, suprailiac, thigh). This distinction makes it a practical, affordable, and surprisingly reliable tool for body composition assessment.
Why Skinfold Testing Still Matters for Body Composition
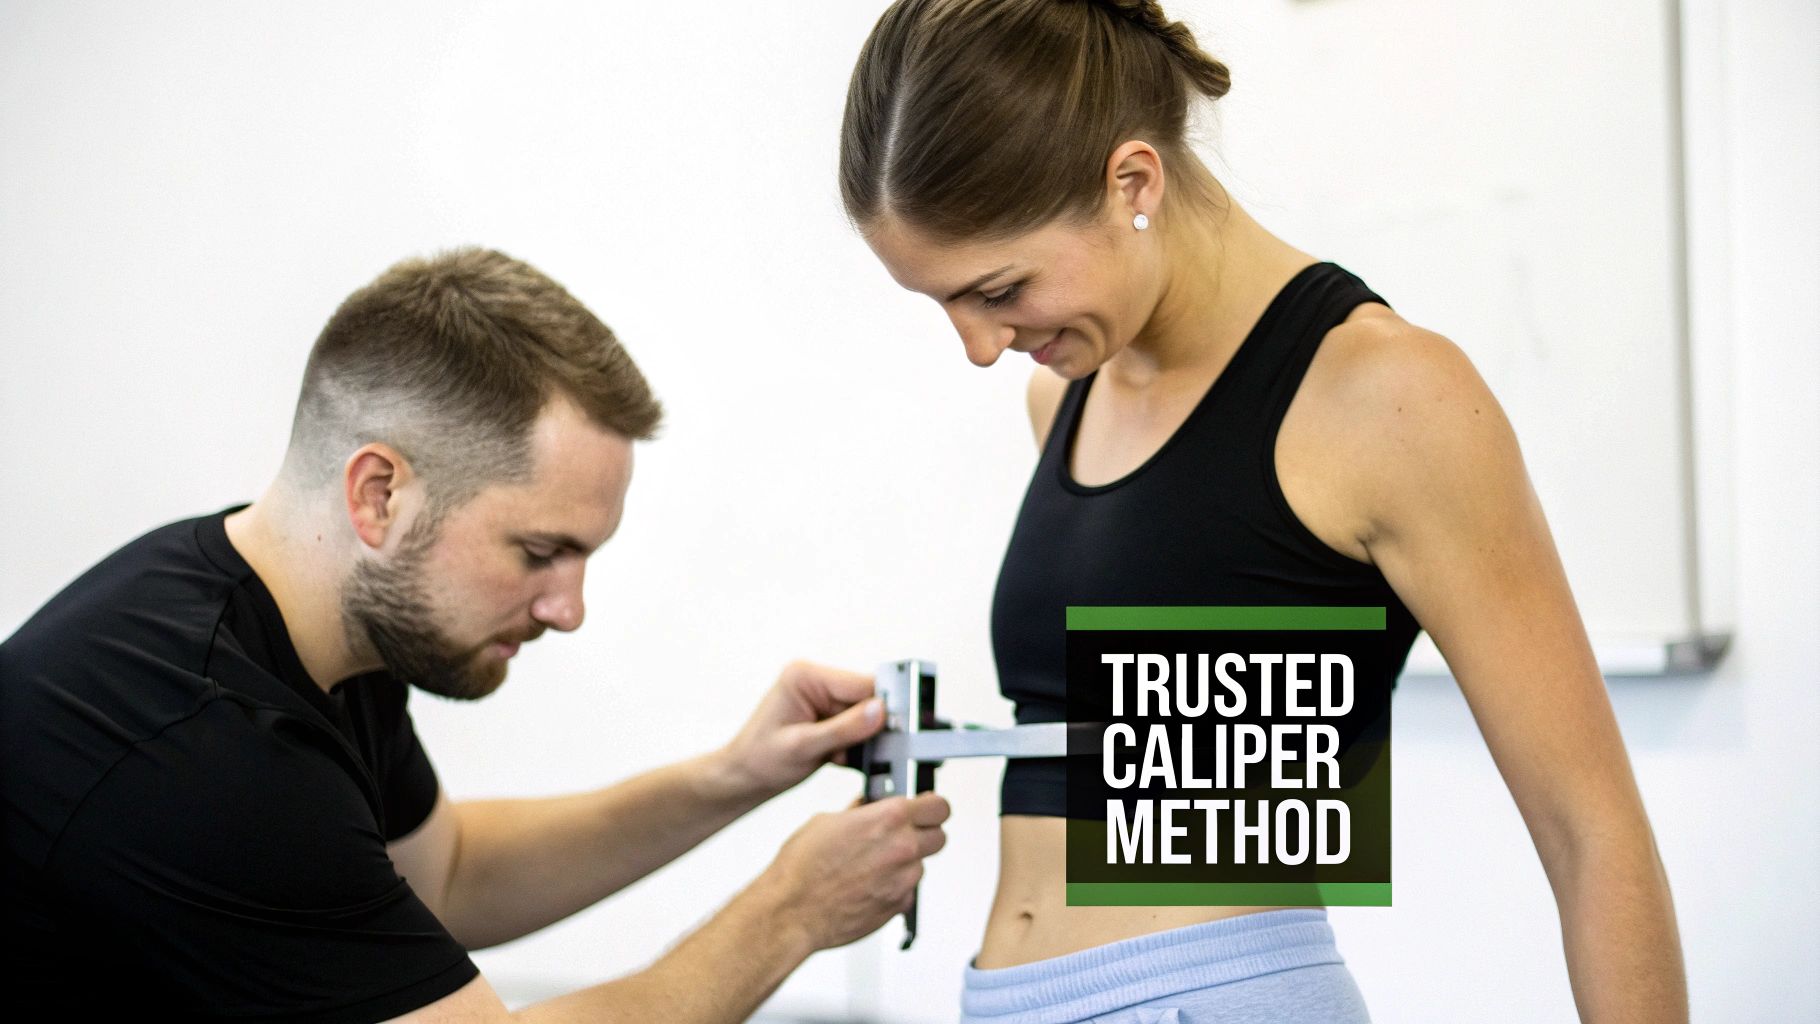
In a world full of high-tech body scanners, you might think the humble skinfold caliper is a relic. But top fitness professionals keep it in their toolkit for a reason, and it’s not nostalgia. It’s all about proven reliability, accessibility, and the quality of the hands-on data it gives you.
The Jackson-Pollock 3-site method, specifically, hits the sweet spot. It’s fast enough to slip into a client session without throwing off the schedule, yet it provides meaningful data for tracking body composition changes over time. Unlike bulky, expensive machines, a good caliper is portable, affordable, and ready to go anywhere.
The Science Behind the Squeeze
The modern 3-site skinfold calculation isn't just guesswork; it's built on solid science. The formulas we use today go back to the work of Jackson and Pollock in 1978, who developed them using large groups of North American adults.
They validated their protocols by first measuring body density with the gold standard of the time—hydrostatic (underwater) weighing. Then, they created regression equations that could predict those same results just from the sum of a few skinfold measurements. When done correctly, these equations have a standard error of around 3–4% body fat, which is pretty impressive for such a simple tool.
This classic method brings a few key advantages to the table for both trainers and their clients:
- Practicality: It needs very little equipment and can be done just about anywhere.
- Affordability: Calipers are a small, one-time investment, especially compared to pricey electronic devices.
- Consistency: A skilled tester can get highly repeatable results, which is exactly what you need for tracking progress accurately.
For anyone serious about their fitness, understanding how body composition affects performance in activities like strength training for runners is a game-changer. A skinfold test provides tangible numbers that link the effort in the gym to real physical changes.
To help clarify the concepts we'll be discussing, here’s a quick rundown of the essential terms.
Key Terminology For Skinfold Analysis
| Term | Definition |
|---|---|
| Body Composition | The proportion of fat and non-fat mass (muscle, bone, water) in your body. |
| Skinfold | A pinch of skin and the underlying layer of subcutaneous fat. |
| Caliper | A spring-loaded device used to measure the thickness of a skinfold in millimetres (mm). |
| Body Density (Db) | The body's mass per unit volume (mass/volume). It's the intermediate step to calculating body fat %. |
| Subcutaneous Fat | The fat stored directly under the skin, which is what calipers measure. |
| Siri & Brozek | The names of the two most common equations used to convert body density into a final body fat percentage. |
Familiarizing yourself with these terms will make the step-by-step process much easier to follow.
This hands-on approach is more than just a measurement; it’s a tool for education and motivation. It allows you to show clients exactly where changes are occurring, fostering a deeper understanding of their fitness journey.
Ultimately, skinfold testing remains a cornerstone of fitness assessment because it delivers reliable, actionable information. As we look at different body composition assessment methods, it’s easy to see why this tactile skill is still so valuable for professionals today.
Setting the Stage for Accurate Measurements
The final number you get from a skinfold test is only as good as the work you do before you ever pick up the calipers. In my experience, accuracy is decided long before the first pinch. Small, seemingly minor details in the environment and your client's physical state can throw off the entire assessment.
Think of it like a science experiment—consistency is everything. If you want to track changes over time, you have to control the variables. That means establishing a clear pre-assessment protocol that both you and your client stick to every single time.
Creating the Ideal Testing Conditions
The client’s condition right before the test is paramount. Certain activities can temporarily shift fluid around the body, making a skinfold pinch thicker or thinner than it really is. For data you can actually rely on, make sure your client follows these non-negotiable rules:
- No Post-Workout Measurements: Exercise drives blood flow to the skin and causes fluid shifts that can seriously inflate the readings. I always measure before a workout, or at least several hours after.
- Dry, Lotion-Free Skin: The skin has to be clean, dry, and completely free of any lotions or oils. Creams and oils make it incredibly difficult to get a firm, consistent grasp of the skinfold.
- Standard Hydration Levels: Dehydration can make the skin tighter and harder to pinch, while over-hydration can do the opposite. Just advise the client to maintain their normal hydration habits—no need to overthink it, just keep it consistent.
Taking a measurement on a client who just finished a HIIT session is a recipe for disaster. Their skin will be pliable and potentially swollen, leading you to overestimate their body fat and record a number that doesn't reflect their true baseline.
The Technician's Role in Precision
Your technique is just as crucial as the client’s condition. Your first job? Make the client feel comfortable and informed. I always take a moment to briefly explain what I’m about to do. This helps them relax their muscles, which is absolutely essential for getting a clean pinch.
The most critical step on your end is correctly identifying and marking the anatomical sites. I use a skin-safe cosmetic pencil to place a small, precise mark on each of the three locations. This is non-negotiable, because when you re-test weeks or months later, you need to be measuring the exact same spot. It’s the only way to track progress accurately.
Proper client positioning also makes a huge difference, whether they're standing relaxed or seated. It makes it easier to access the sites and perform a consistent measurement. A solid technique, paired with quality equipment like professional-grade skin-fold callipers, is what builds the foundation for results you and your client can actually trust.
Mastering the Male 3-Site Skinfold Protocol
When it comes to tracking a male client's body composition, the 3-site skinfold calculation is a classic for a reason. It's fast, efficient, and when done right, remarkably accurate. But the key phrase there is "done right." Getting reliable numbers comes down to mastering the technique for three key spots: the chest, abdomen, and thigh.
This isn't just about a casual pinch. It’s about developing a consistent process—a feel for the tissue that you can replicate perfectly every single time. Your technique is what turns these numbers from a random snapshot into a reliable map of your client's progress. Nail the process, and you’ll know for sure that the changes you see are real.
Getting Set Up for Success
Before you even pick up the calipers, a little prep work goes a long way. Getting clean, repeatable data starts with a few simple ground rules for the client. This quick guide breaks down the non-negotiables.
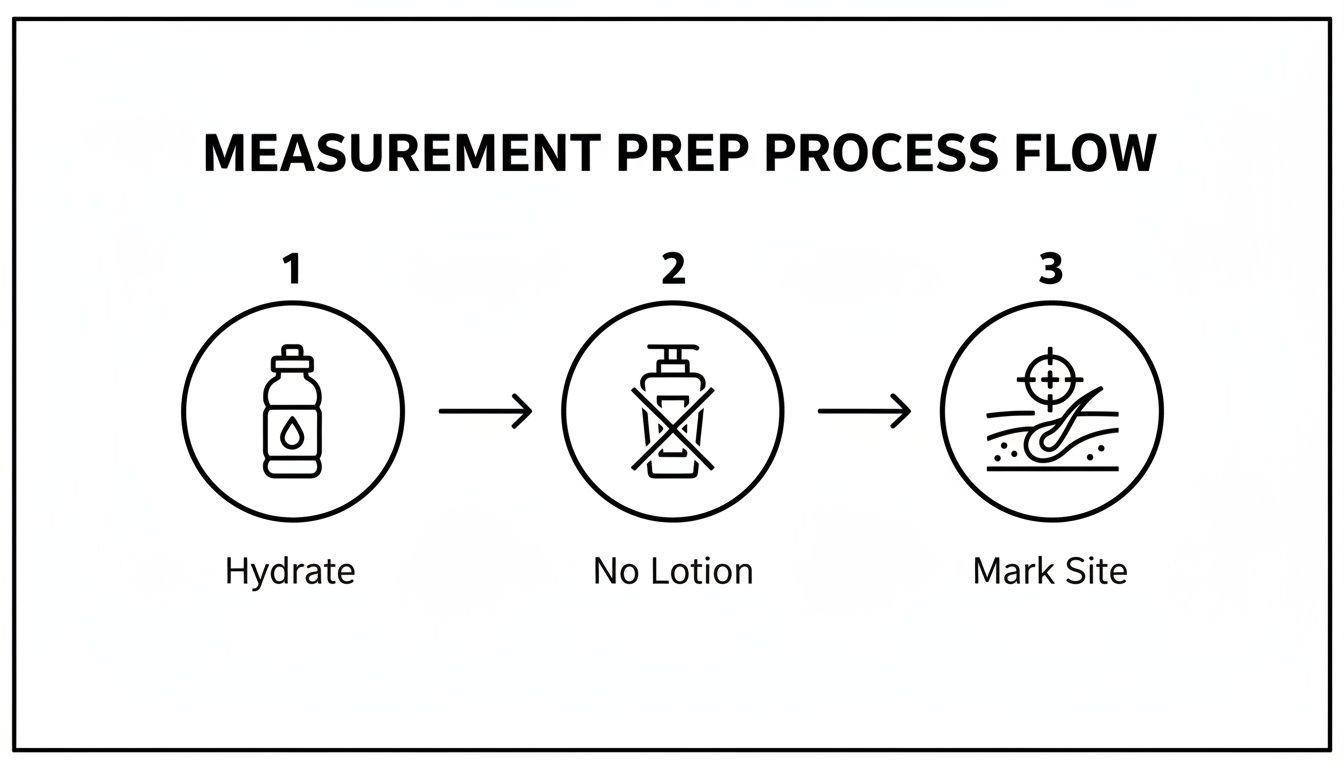
As you can see, it boils down to three simple things: make sure your client is well-hydrated, has clean, lotion-free skin so you can get a good grip, and take the time to mark each site. Marking the spots eliminates any guesswork for future measurements.
The Chest (Pectoral) Site
First up is the chest. This one is a diagonal fold, a small detail that makes a huge difference. You're aiming for the midpoint on an imaginary line running from the front of the armpit (the anterior axillary line) down to the nipple.
For most guys, finding this landmark is pretty straightforward. If you're working with someone who has a lot of pectoral muscle or a higher body fat percentage, you might need to feel around a bit to find that clear line. Once you’ve marked it, grasp the skinfold diagonally, following the natural grain of the pec muscle.
The Abdominal Measurement
Next, we move to the abdomen, which requires a vertical fold. The spot you're looking for is about 2 cm (roughly an inch) to the right of your client's belly button. It's absolutely crucial that they are standing relaxed for this—no flexing!
A classic mistake here is pinching too much tissue. Your goal is to gently lift the skin and the layer of fat right under it away from the abdominal wall. Get a clean vertical pinch between your thumb and index finger, then place the caliper jaws about 1 cm away from your fingers. Keep a steady grip on the fold while the caliper does its work.
The Thigh Measurement
The last of the three is the thigh, another vertical fold. Find the anterior midline of the thigh (the very front), and mark the point exactly halfway between the top of the kneecap (patella) and the inguinal crease, which is where the leg meets the torso.
The easiest way to get this one is to have your client sit on the edge of a bench with their knee bent at about a 90-degree angle. This helps the quad relax, making the skinfold much easier to separate. If your client is very lean and the muscle is tight, ask them to lift their heel off the floor just a tiny bit. This will often soften the muscle just enough for you to get a solid pinch.
Pro Tip: Don't just measure each site once. I always take at least two measurements at each location, going in a rotation (Chest, Abdomen, Thigh, then repeat the cycle). If my two readings for any site are more than 1-2 mm apart, I'll take a third. For the final number, I use the average of the two closest readings. This simple habit dramatically improves accuracy and builds confidence in your results.
Nailing the Female 3-Site Protocol
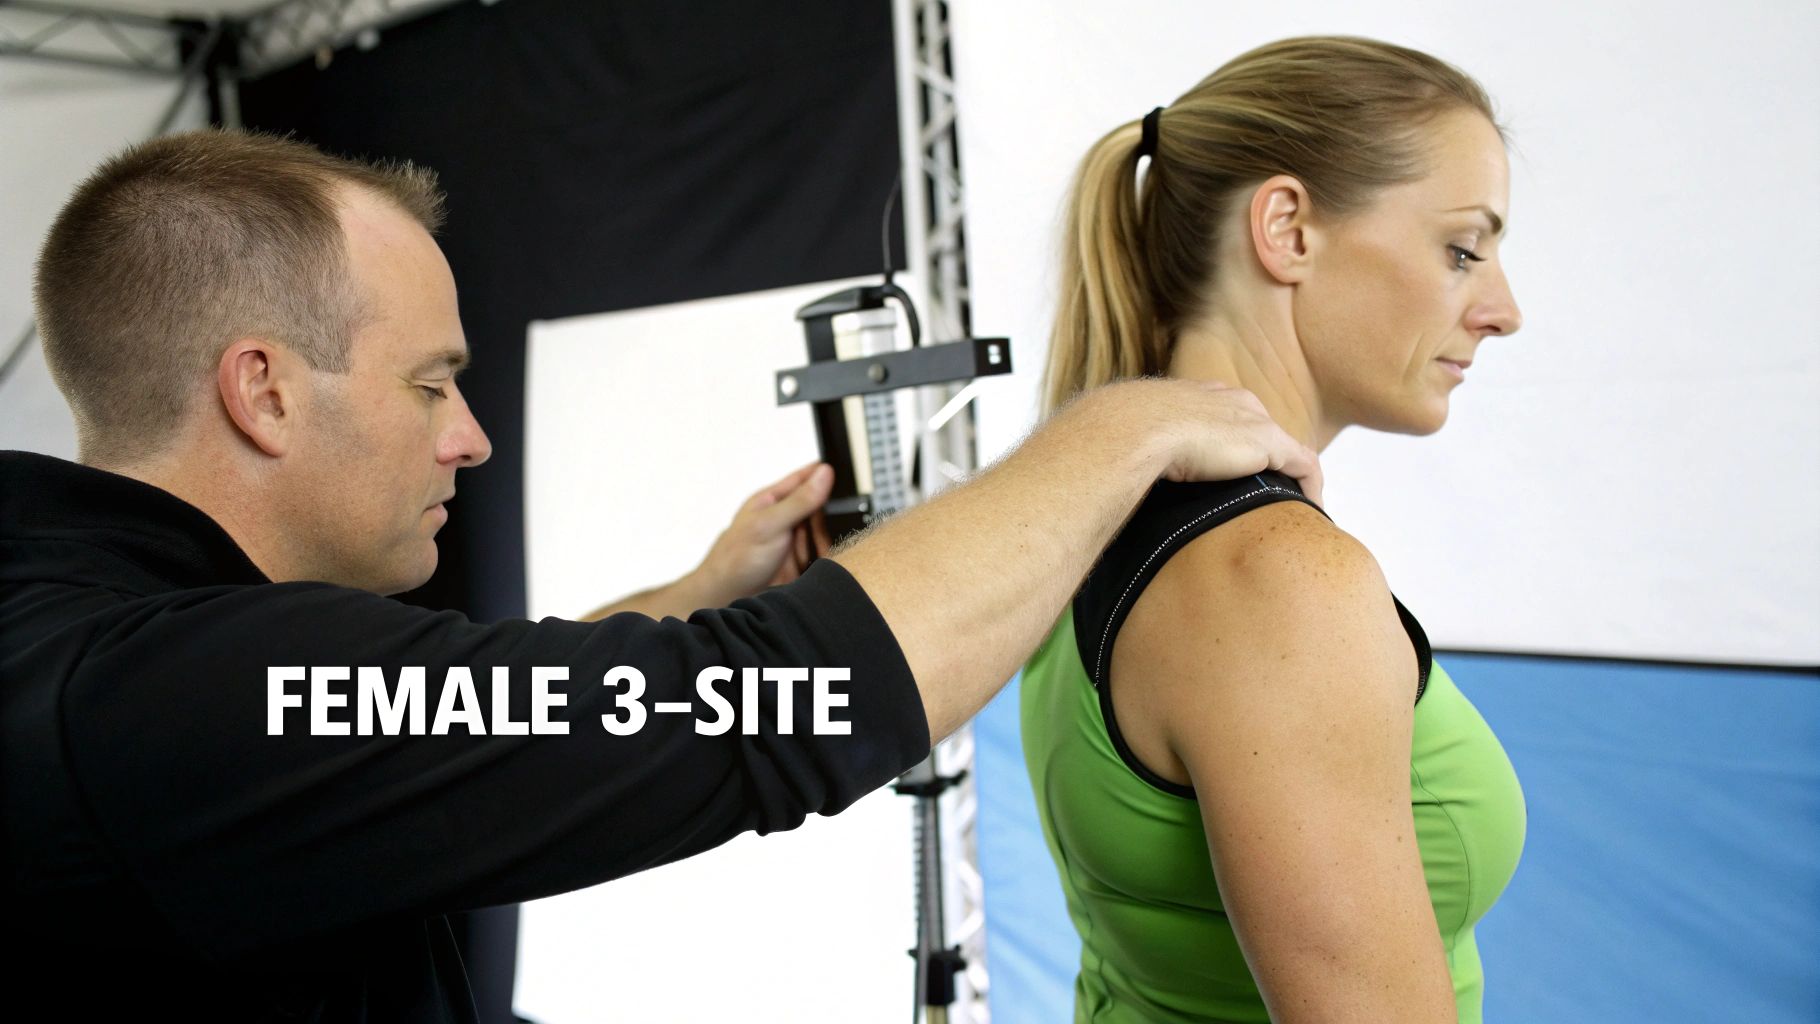
When we switch over to the female protocol for a 3 site skinfold calculation, we’re working with a completely different set of anatomical landmarks. The three sites—triceps, suprailiac, and thigh—each demand a slightly different touch and a sharp eye for detail. Getting these spots right is the foundation for tracking a client's progress accurately.
Just like with the male protocol, the key is developing a repeatable system. This is especially true for a site like the suprailiac, where being off by just a couple of centimeters can throw your numbers way off. Let’s break down each site so you can build your confidence and become a pro at this.
The Triceps Measurement
First up is the triceps, which calls for a vertical fold. You'll find the landmark on the back of the upper arm (the posterior midline), precisely halfway between the bony point of the shoulder (acromion process) and the tip of the elbow (olecranon process).
I always find it easiest to have the client stand relaxed with their arm hanging naturally at their side. I'll take a flexible tape measure to find that exact midpoint and make a small, clear mark. From there, you gently pinch a vertical fold with your thumb and index finger, making sure you’re lifting only the skin and subcutaneous fat away from the underlying triceps muscle.
The Suprailiac Measurement
Next, we have the suprailiac site, which, in my experience, can be the trickiest of the three. This is a diagonal fold taken just above the hip bone. Your first step is to palpate the area to find the top ridge of your client's hip bone—this is the iliac crest. The correct spot for the measurement follows the natural diagonal line just above that crest, directly in line with the front of the armpit (the anterior axillary line).
Have your client stand with their feet together and arms relaxed. I often ask them to place their left hand on their right shoulder; this gets their arm completely out of the way. The skinfold here follows the body's natural crease, running diagonally at roughly a 45-degree angle. This site is particularly important as it tends to reflect changes in central body fat really well.
A common pitfall here is taking the measurement too low or too far to the side. Always, always find that iliac crest first—that bony ridge is your anchor. The fold should be pinched just above this landmark, following that natural diagonal line.
The Thigh Measurement
Finally, we arrive at the thigh, a measurement that mirrors the male protocol. This is a vertical fold on the front of the thigh (anterior midline), exactly halfway between the top of the kneecap (patella) and the crease where the thigh meets the hip (inguinal crease).
To get a clean, reliable reading, have your client sit on the edge of a bench or chair with their knee bent at a 90-degree angle and their foot flat on the floor. This position helps the massive quadriceps muscle relax, making it so much easier to isolate the skinfold. If you find the muscle is still a bit tense, just ask them to slightly extend their leg until you feel the tissue soften.
As with any precise measurement, consistency comes from practice and sticking to a solid routine.
- Measure, rotate, repeat: Take at least two measurements at each site, going in a rotational order (Triceps, Suprailiac, Thigh, then start over).
- Check your numbers: If your two readings at any single site are off by more than 1-2 mm, it's time to take a third.
- Average the closest: Use the average of the two closest readings as your final number for that site.
This meticulous approach is what turns a good guess into reliable data you can trust for your 3 site skinfold calculation.
Turning Millimeters Into Meaningful Data
You’ve carefully taken your measurements, and now you have three numbers in millimeters. On their own, they don't mean much, but this is where the real power of the 3-site skinfold calculation comes into play. By plugging these raw numbers into the right formulas, we can transform them into a reliable body fat percentage.
The process isn't complicated, but it is specific. First, we use the classic Jackson–Pollock equations to get a body density figure. From there, we pop that number into either the Siri or Brozek formula to get our final body fat percentage.
Let's walk through exactly how it's done.
The Jackson–Pollock Equations
This is the first, and most important, calculation. The formulas are gender-specific, which is why we use different anatomical sites for men and women. All you need are two key inputs: the sum of your three skinfold measurements (in mm) and the client’s age (in years).
Formula for Men:
Body Density (Db) = 1.10938 – (0.0008267 x S) + (0.0000016 x S²) – (0.0002574 x A)
Formula for Women:
Body Density (Db) = 1.0994921 – (0.0009929 x S) + (0.0000023 x S²) – (0.0001392 x A)
In these equations:
- S is the sum of your three skinfold measurements in millimeters.
- A is the client's age in years.
While the math might look a little intimidating at first glance, it’s really just a plug-and-play calculation. If you'd rather skip the manual number-crunching, our easy-to-use seven-site skinfold calculator can also process 3-site results and handle these formulas for you instantly.
From Body Density to Body Fat Percentage
Once you've calculated the body density (Db) value, you're just one quick step away from the final number. This is where we convert that density figure into something we can all understand: body fat percentage.
A 3-site skinfold taken with validated calipers isn't just a number for your gym records; it's a globally recognized metric. For Cartwright Fitness clients, this means their data can be plugged into equations and compared against reference values derived from massive, multi-national datasets spanning more than 50 years of research. This method has a long and proven track record in large-scale health studies.
Two main formulas are used for this conversion. The Siri equation is by far the most common, but the Brozek formula is a well-regarded alternative.
Here’s a quick look at the two go-to formulas for this final step.
Body Density to Body Fat Conversion Formulas
The table below breaks down the two most widely accepted formulas for converting your body density calculation into a final body fat percentage. While both are effective, most practitioners default to Siri for general population clients.
| Formula | Equation | Primary Use Case |
|---|---|---|
| Siri | Body Fat % = (495 / Db) – 450 | The most widely used formula, considered the standard for the general adult population. |
| Brozek | Body Fat % = (457 / Db) – 414.2 | An alternative that may produce slightly different results, sometimes preferred for leaner individuals. |
In most cases, sticking with the Siri equation will give you consistent and reliable results.
Putting It All Into Practice
Let's see how this works with a real-world example to make it crystal clear.
Example: Male Client, Age 35
- Chest: 12 mm
- Abdomen: 20 mm
- Thigh: 15 mm
- Sum of skinfolds (S) = 47 mm
- Age (A) = 35
First, we need to find his body density using the male formula.
Step 1: Calculate Body Density (Db)
- Db = 1.10938 – (0.0008267 x 47) + (0.0000016 x 47²) – (0.0002574 x 35)
- Db = 1.10938 – 0.03885 + 0.00353 – 0.00901
- Db = 1.06505
Now we have the body density. Let's use the Siri formula to get his body fat percentage.
Step 2: Convert to Body Fat % (Using Siri)
- Body Fat % = (495 / 1.06505) – 450
- Body Fat % = 464.76 – 450
- Body Fat % = 14.8%
And there you have it. By following this two-step process, you can confidently turn your caliper readings into meaningful, actionable data that both you and your clients can use to track progress.
Sidestepping Common Mistakes for Better Accuracy
Even seasoned pros can fall into small habits that mess with the accuracy of a 3 site skinfold calculation. This is your quality control checklist—a way to fine-tune your technique so every measurement is rock-solid. Ultimately, you want data your clients can actually trust, and that comes down to being meticulous.
Tiny mistakes, especially when you add them up across three different sites, can easily throw the final body fat percentage off by several points. That's a big deal. It could discourage a client who's putting in the work or give a false sense of security to someone who needs to make real changes. Let's nail down the most common errors and talk about how to stamp them out for good.
Pinching Problems: Getting the Right Amount of Tissue
The single most frequent issue I see is grabbing either too much tissue or not nearly enough.
If you pinch too hard, you're going to grab the muscle underneath the fat. That will seriously inflate the measurement and skew the results high. On the flip side, a timid pinch that only catches the very top layer of skin will underestimate the fat, giving an artificially low—and inaccurate—reading.
The trick is a firm, controlled grasp with your thumb and index finger. You need to feel for that distinct separation between the softer subcutaneous fat and the hard muscle underneath. A great tip is to do a few "practice pinches" on the site before you even bring the calipers in. This helps you get a feel for the tissue and lets the client relax.
Consistency Is Everything: Your number one goal should be high intra-rater reliability. In simple terms, this means your measurements on a client today should be almost identical to the ones you'd get if you re-tested them ten minutes later. A consistent technique is the only way to know that changes over time are real physiological progress, not just noise from sloppy measurements.
Technical Slips and Measurement Errors
Beyond the pinch itself, a few other technical hiccups can completely derail your results. These usually happen when you're rushing or distracted, but they're simple to fix once you know what to look for.
Keep an eye out for these common culprits:
- Sloppy Site Marking: Being off by just a centimeter matters. Always, always use an anatomical tape measure and a skin-safe marker to pinpoint the exact landmark. Don't eyeball it.
- Reading the Caliper Too Fast: This is a classic rookie mistake. Once you apply the caliper, pause for 1-2 seconds. Let the needle or digital display settle before you record the number. Reading it instantly or waiting too long will give you a false number.
- Releasing the Pinch: You have to maintain that firm hold on the skinfold with your fingers for the entire measurement—from the moment the caliper touches the skin until after you've taken the reading and removed it.
Here’s a simple drill to sharpen your skills: grab a willing friend or colleague and run through a full set of measurements. Wait about ten minutes, then do it all over again without peeking at your first set of numbers. When you compare the two, you'll immediately see where your technique needs a little work. It’s the fastest way to perfect your 3 site skinfold calculation and deliver truly professional results.
At Cartwright Fitness, we provide validated, high-precision equipment to ensure your assessments are always accurate. Explore our professional-grade tools to deliver results your clients can count on at https://www.cartwrightfitness.co.uk.


